Publishing to HTML Help
THESE PAGES ARE STILL UNDER CONSTRUCTION AND DO NOT NECESSARELY REFLECT THE CURRENT VERSION OF TÓPICO
Microsoft® HTML Help is the standard help system for the Windows platform. Authors can use HTML Help to create online help for a software application or to create content for a multimedia title or Web site.

THIS TOPIC IS A WORK IN PROGRESS
Files created by Tópico
THIS SECTION NEEDS TO BE REVIEWED
Once you've published your collection to HTML Help, you can open the file (ex.: file_name.chm) that's found in the collection's online folder. You will also find two more files with the same root.
| File name | Description |
|---|---|
| file_name.chm | The compiled HTML Help file. This file gathers all your topics in a single file. |
| file_name.hhp | THe HTML Help project that is used to compile your collection to this format. |
| file_name.hhc | The HTML Help content file holds the collection's map |
Compiling an HTML Help project manually
The following content is optional reading since Tópico now creates all necessary files for your HTML Help project.
Although Tópico creates and compiles your HTML Help project during the publishing process, there might be time you want to edit your project manually.To launch the Microsoft HTML Help Workshop, double click on the file_name.hhp file that was created by Tópico.
.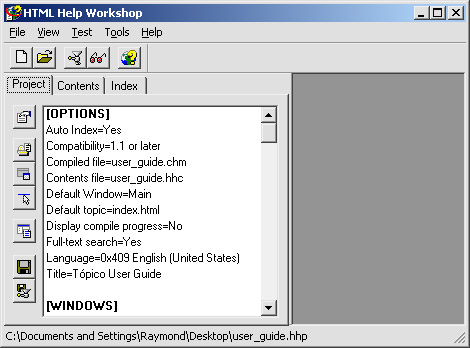
Once your HTML Help project is opened, you can set different project properties with the buttons found on the left side of the window.
Create the main window
To create the main window:
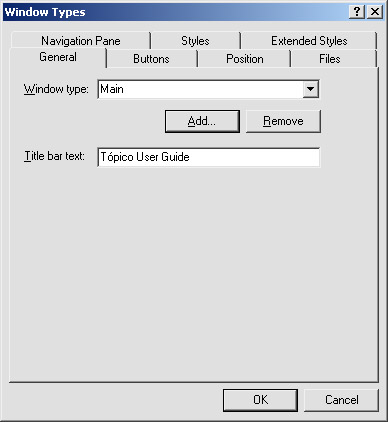
- Click on the "Add/Modify Window definitions" button on the left;
- On the General tab, enter Main as the window type and the title of the window;
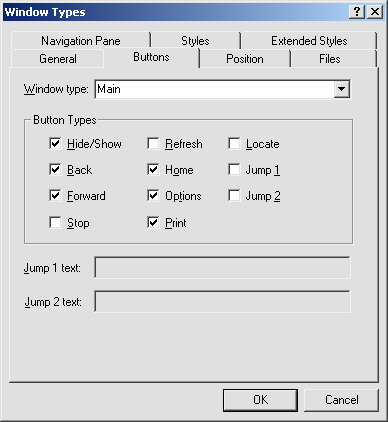
- Oh the button tab, select the buttons you'd like to add to your Help file;
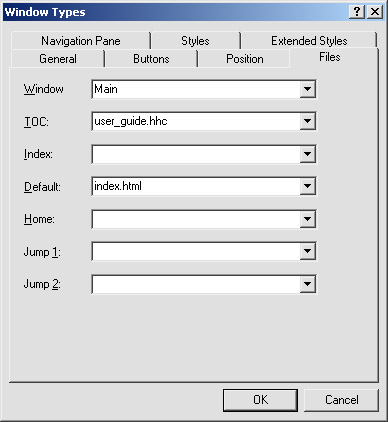
- On the file tab, you can set the name of the default file to display when the help file is opened;
- On the Navigation Pane tab, you can select the option to add a search tab.
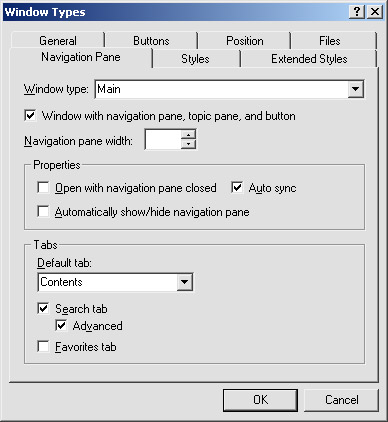
- Click Ok.
Your main window is created. It's now time for some last tweak to the project file.
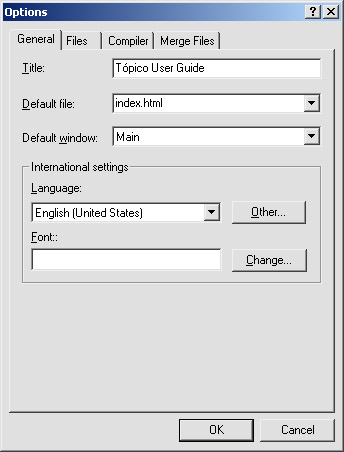
Configure your HTML Help project file
The last step in setting up your HTML Help project is to set a few properties in the project configuration dialog.
- On the General tab, enter your project's title, default file and default window;
- On the file tab, make sure the compiled file is in the online folder and that the content file name is correct. You can also select the option to include keywords from the HTML files;
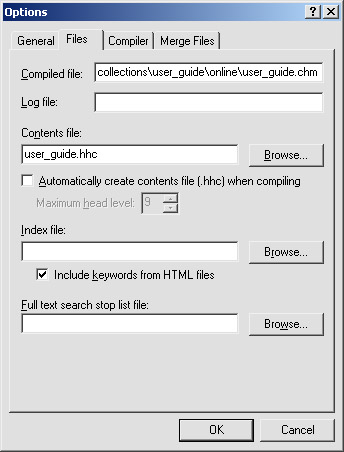
- Click Ok.
You're now ready to manually publish your HTML Help project.
Publish your HTML Help project
To publish your project, click on the Compile HTML Help button on the (top) toolbar.
After a few seconds, or a few minutes depending on your publication, you will see a compilation report from the HTML Help Workshop program informing you about the results of the compilation process. If no error was reported, you can view your .chm file by double cliking on it.
THESE PAGES ARE STILL UNDER CONSTRUCTION AND DO NOT NECESSARELY REFLECT THE CURRENT VERSION OF TÓPICO