Generate Small Content Snippets
THESE PAGES ARE STILL UNDER CONSTRUCTION AND DO NOT NECESSARELY REFLECT THE CURRENT VERSION OF TÓPICO
In this tutorial, you'll learn how to generate small content snippets during the publishing process.
In addition to reusing content snippets, generating some other automatically can be a real time saver in any workflow. Let's first create a warning like this one.
<div class="warning">...</div>
Insert a warning element
To insert a warning that will serve as the starting point, follow these steps:
- Type some text in a new (or existing) topic;
- Select the whole paragraph (triple click);
- Click on the button above the editor;
- From the popup menu, select ;
- From the Styles dropdown list, select Warning.
Create your generated content snippets
A stylesheet selector already exists for this tag in all Tópico default stylesheets, showing its content proheminently enough in your publication (and in the editor window). Now what if your client asks if you could add the word "Warning" at the top left of all the warnings in the collection. There are already over 90 warnings. Going through each of them manually would long and prone to error.
In Tópico, you can setup a small generated content snippet and create a stylesheet selector for inserted elements to slove this challenge, within minutes.
Follow these steps to create a generated snippet:
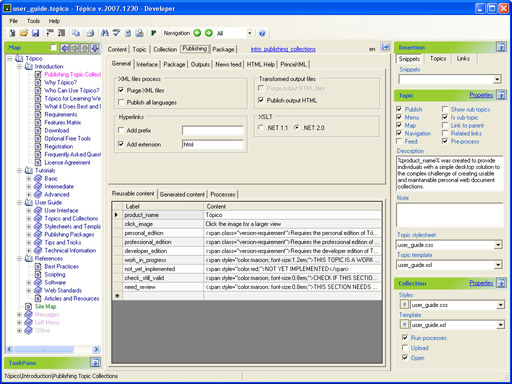
- Select the Advanced tab;
- Add the following entries to the Generated content grid.
| Type | Position | Text | Content |
|---|---|---|---|
| Text | Before | <div class="warning"> | <div class="warning_label">Warning</div> |
This new "warninglabel" div will be inserted before all <div class="warning"> in all your published topic.
You can click on the WYSIWYG icon in the editor toolbar to switch to the xml view ![]() of your topic. The XML view allows you to select text string to paste in the generated content grid.
of your topic. The XML view allows you to select text string to paste in the generated content grid.
Add a CSS style for the generated content
The other important thing to do is to setup the stylesheet selector that will make this new content fit within the existing publication. In the context of this document, the following selector did the trick.
To add a selector for your new tag, follow these steps:
- Click on the small button at the left of the Stylesheet drop down list;
- From the popup menu, select the stylesheet that's shown in the drop down list;
- If prompted for a program to open the file, choose Notepad;
- Find place in the stylesheet for your selector;
- Add the following selector.
div.warning_label {margin-left:24px; margin-bottom:-28px; padding:4px;
        color:#8B0000; font-weight:bold;}
In the above selector, the margin-bottom property was set to a negative number to compensate for the large top margin that is defined for the original warning div.
Once you have published the collection one last time and uploaded the text content of the publication to your web server, you're now ready to ask your client to refresh his browser to see the change.
THESE PAGES ARE STILL UNDER CONSTRUCTION AND DO NOT NECESSARELY REFLECT THE CURRENT VERSION OF TÓPICO